실전 개발자를 위한 Spring Framework Day8 실습 (2회차)
1.BbsController, BbsService 작성
- controller 패키지 아래에 BbsController 클래스 생성
package kr.co.company.hello.controller;

import kr.co.company.hello.service.BbsService;
import kr.co.company.hello.vo.Article;

import org.springframework.beans.factory.annotation.Autowired;
import org.springframework.stereotype.Controller;
import org.springframework.web.bind.annotation.RequestMapping;

@Controller
@RequestMapping("/bbs")
public class BbsController {

	@Autowired
	private BbsService bbsService;

	@RequestMapping("write")
	public String write(){
		bbsService.registArticle(new Article());

		return "write_ok";
	}
}
- /WEB-INF/views/write_ok.jsp 파일 생성(servlet-context.xml에서 설정한 경로에 맞춤)
<%@ page language="java" contentType="text/html; charset=UTF-8"
    pageEncoding="UTF-8"%>
<!DOCTYPE html PUBLIC "-//W3C//DTD HTML 4.01 Transitional//EN" "http://www.w3.org/TR/html4/loose.dtd">
<html>
<head>
<meta http-equiv="Content-Type" content="text/html; charset=UTF-8">
<title>Insert title here</title>
</head>
<body>
	<h1>write OK</h1>
</body>
</html>
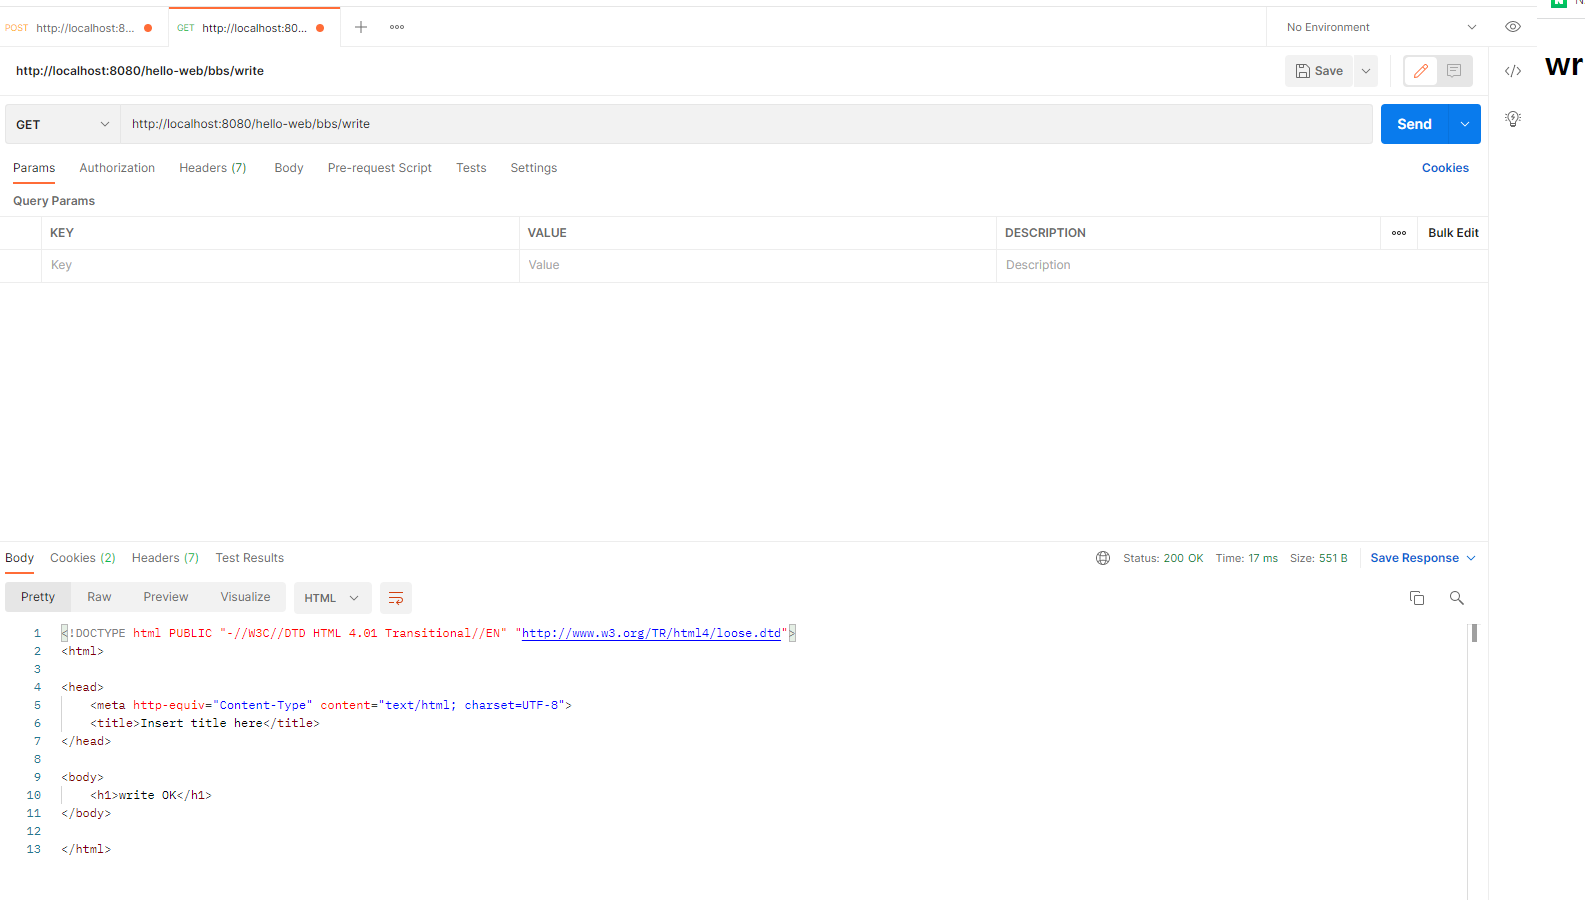
- postman을 이용해 테스트(url: http://localhost:8080/hello-web/bbs/write)
2. HTTP 파라미터 사용
- @RequestParam으로 controller에 파라미터 추가
public String write(@RequestParam("author") String author){
package kr.co.company.hello.controller;

import kr.co.company.hello.service.BbsService;
import kr.co.company.hello.vo.Article;

import org.springframework.beans.factory.annotation.Autowired;
import org.springframework.stereotype.Controller;
import org.springframework.web.bind.annotation.RequestMapping;
import org.springframework.web.bind.annotation.RequestParam;

@Controller
@RequestMapping("/bbs")
public class BbsController {

	@Autowired
	private BbsService bbsService;

	@RequestMapping("write")
	public String write(@RequestParam("author") String author){
		bbsService.registArticle(new Article());
		System.out.println(author);
		return "write_ok";
	}
}
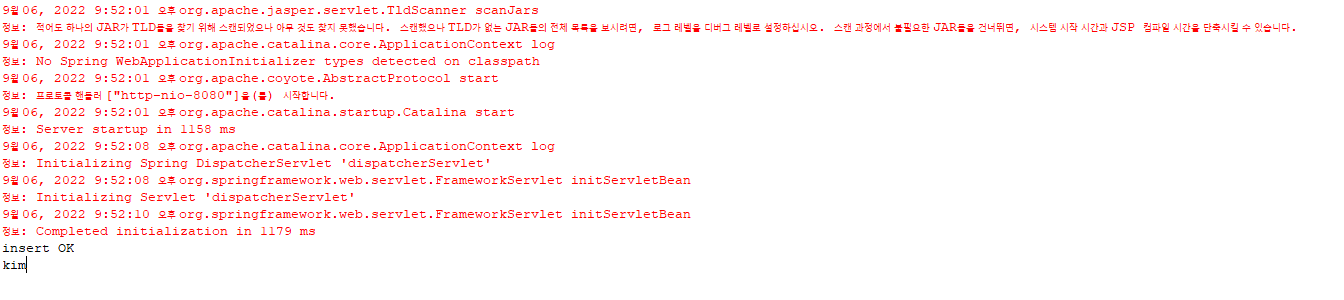
- postman으로 url 호출(url: http://localhost:8080/hello-web/bbs/write?author=kim)
=> System.out.println(author); 를 통해 kim이 출력된다